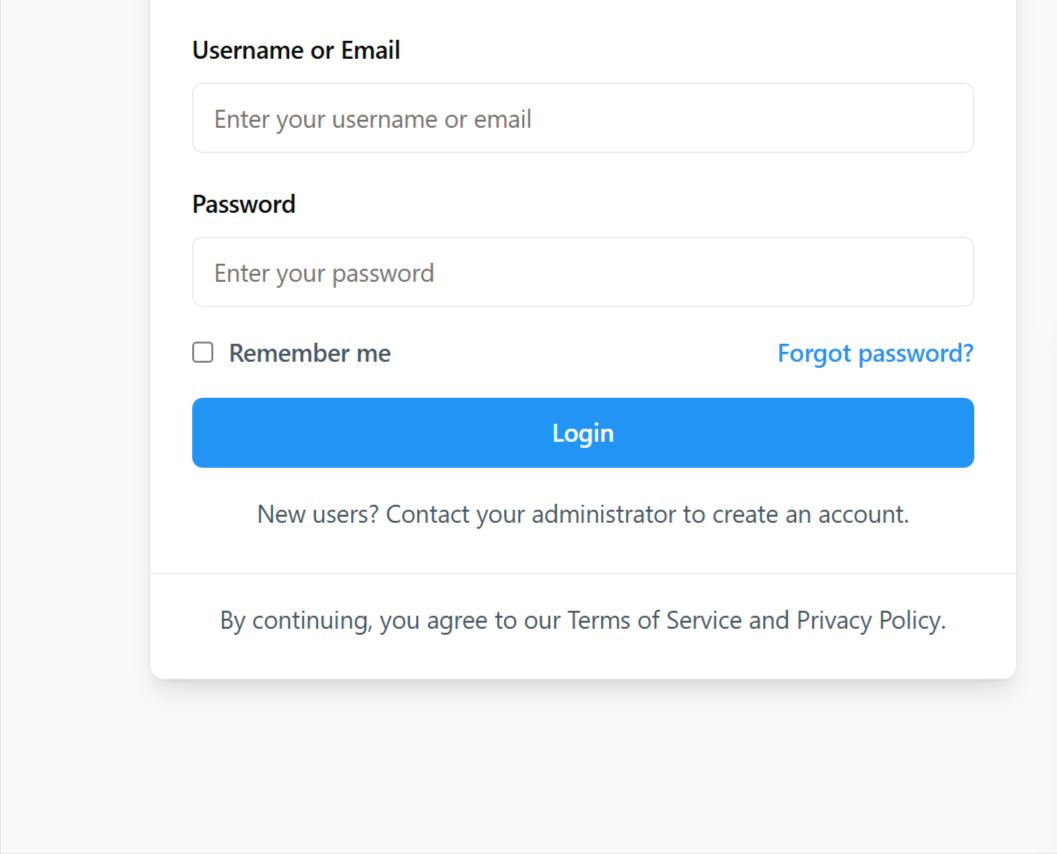
Step 1
Login: Use your credentials to access the backend of your portal at https://digiseatsv-2.replit.app/auth
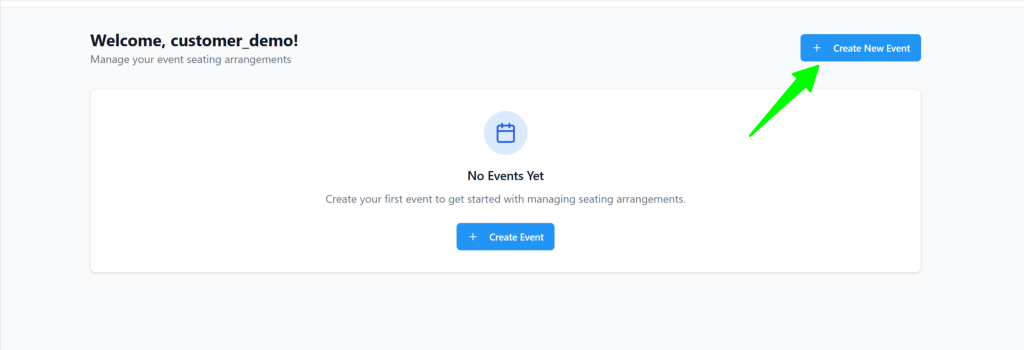
Step 2
Upload Guest Seating Data: Click on ‘Create New Event’.
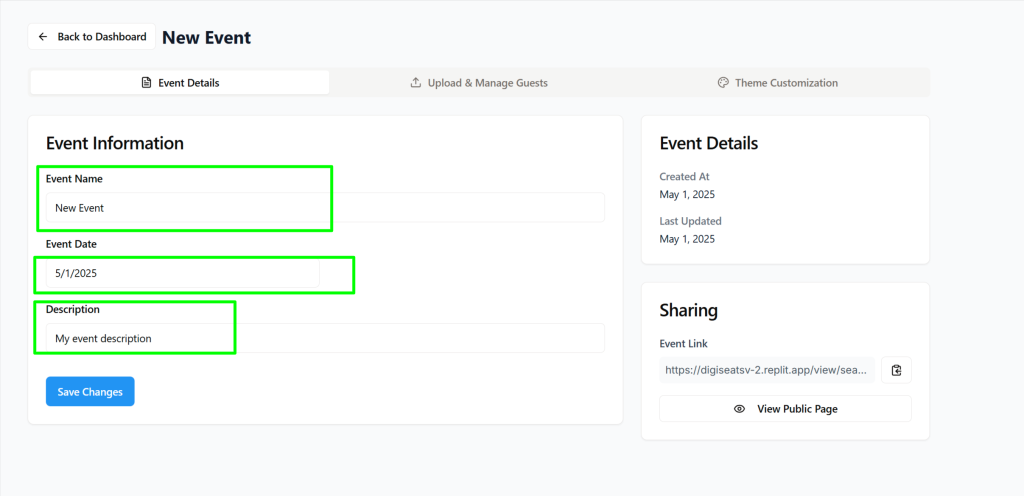
Step 3
Update Your Event Details
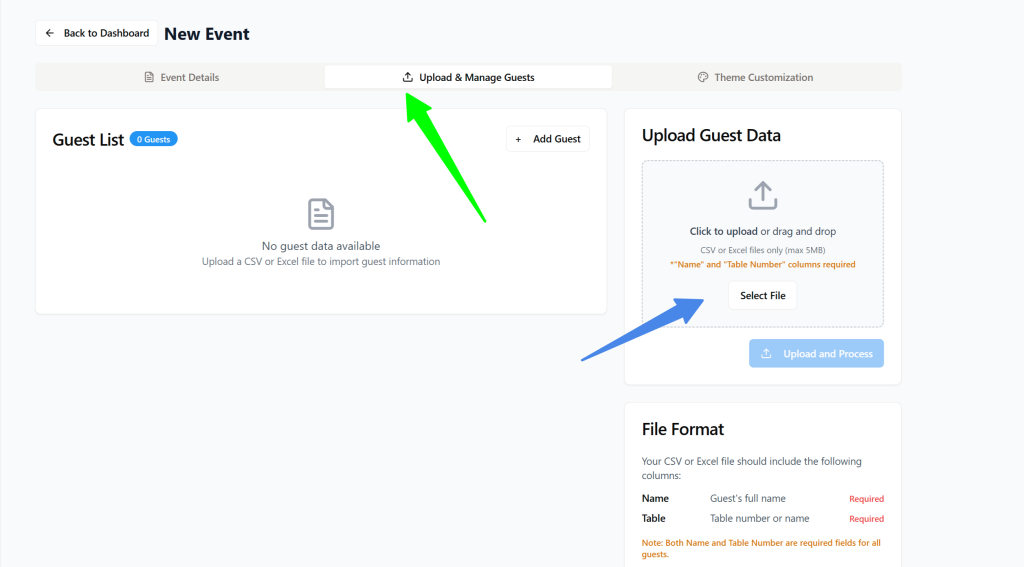
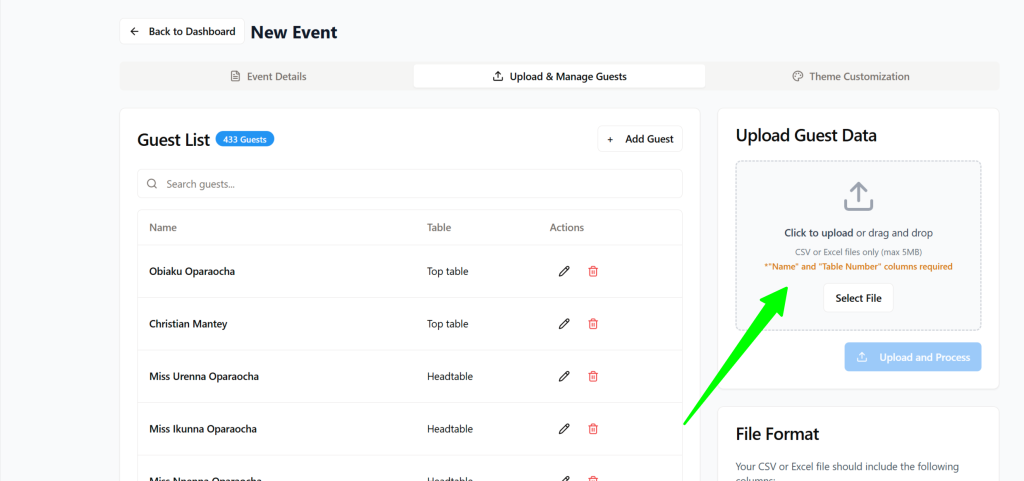
Step 4
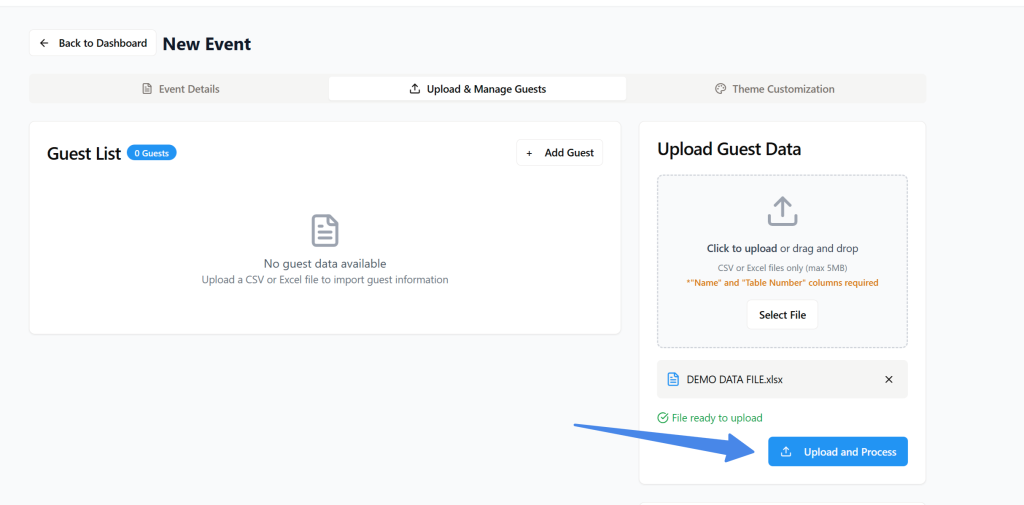
Set Shortlink: Upload your Data file with the guest’s seating info. File Format: Select an Excel or CSV file only. Ensure your file includes at least two columns: ‘Name’ and ‘Table Number’.
Step 5
Finalize Upload: Click ‘Upload’ to complete the process. This step is essential—without it, we won’t be able to generate your Access Link.
Step 6
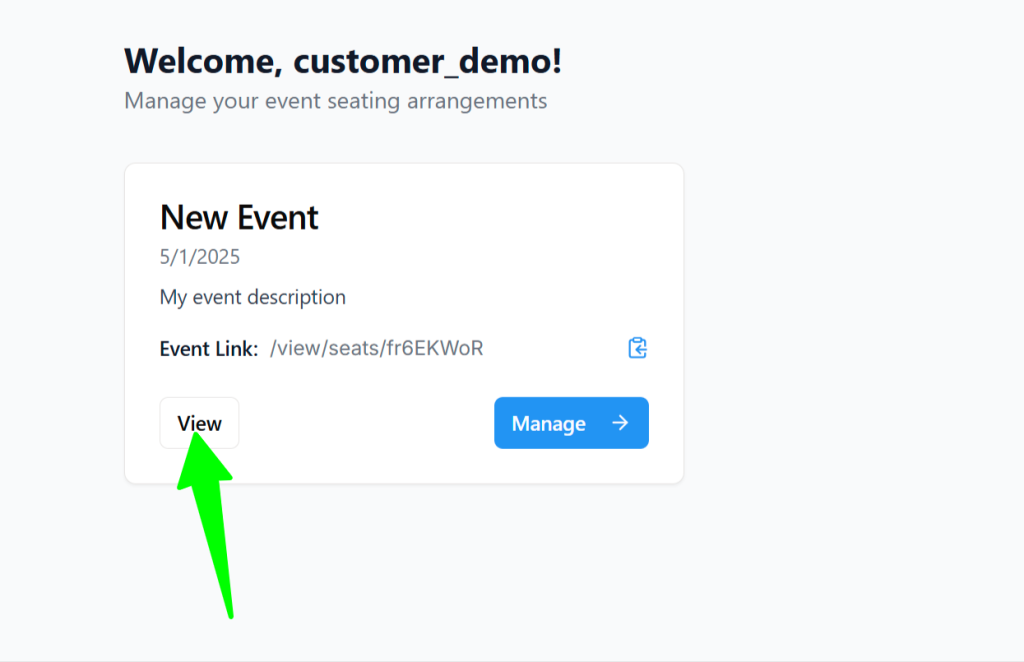
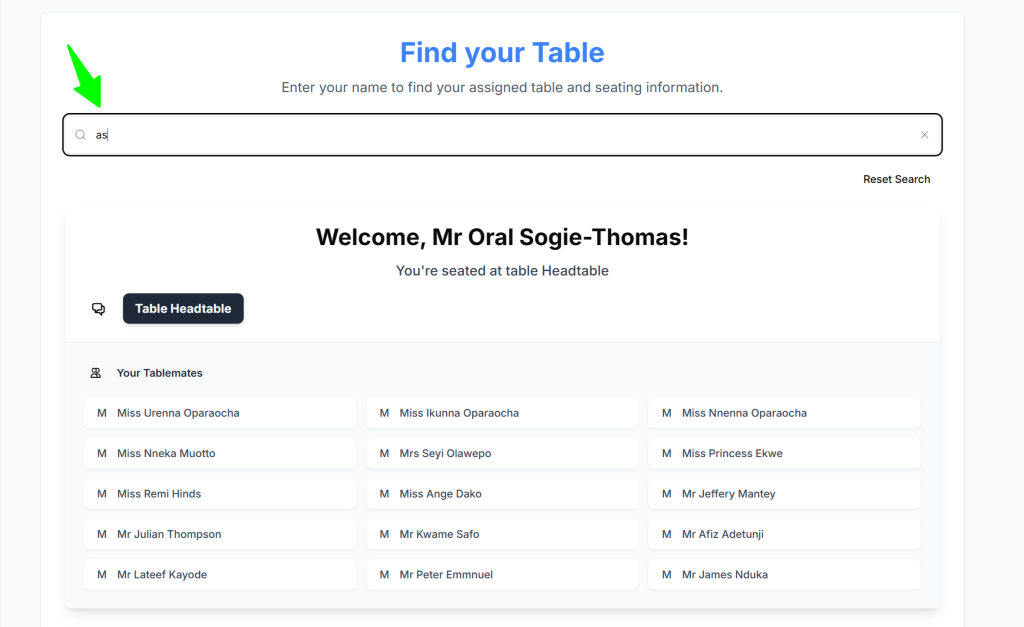
Access Link: Your event shortlink is now live, complete with search functionality. You can copy and test this link.
Step 7
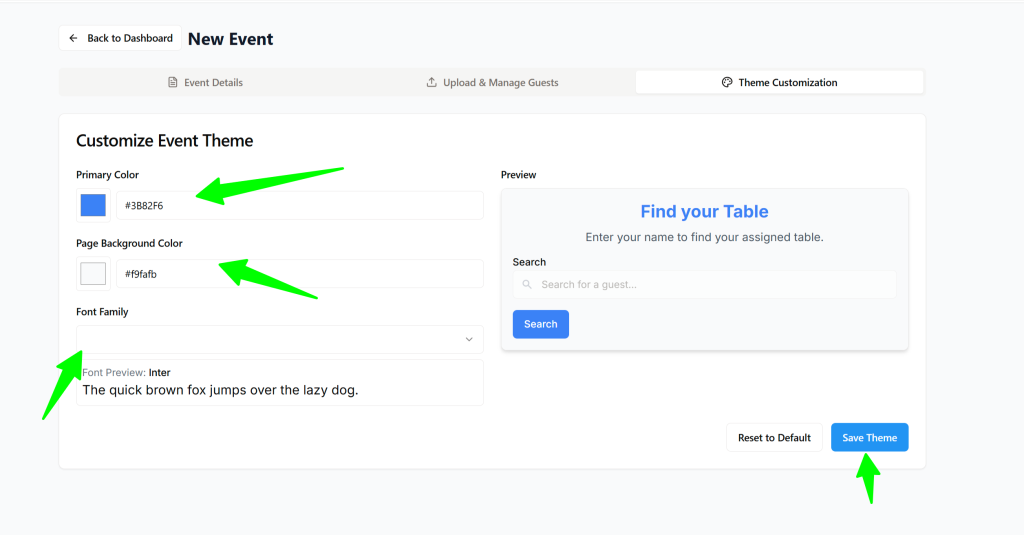
Customize Appearance: Use ‘Theme Customization’ to customize the color theme of your event’s guest portal.
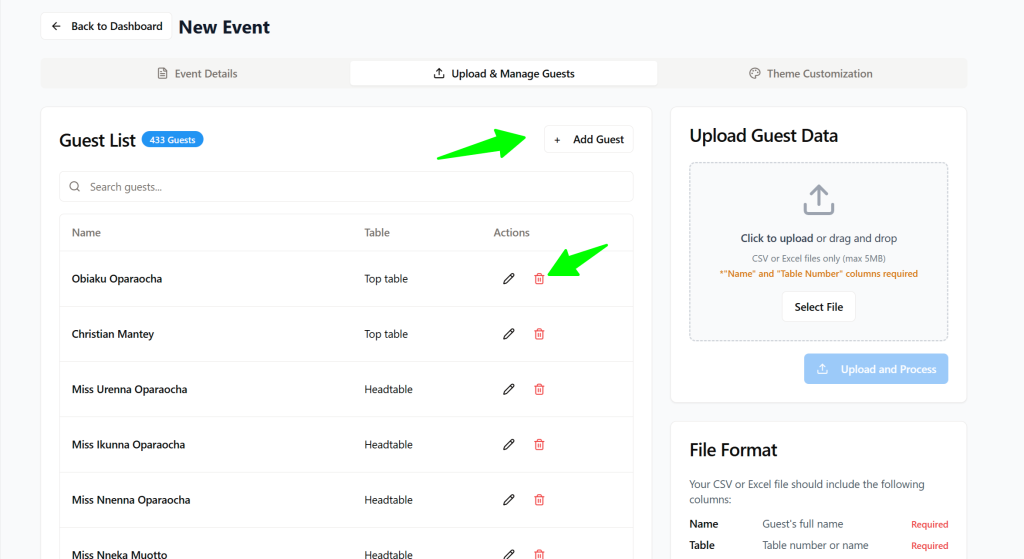
Step 8
Edit Data: To update guest information, use the ‘Upload and Manage Guests’ option. You can add or delete guest and directly update their details. Any Changes will reflect instantly in the live search portal.
Step 9 (Alternative to Step 8)
Replace Data File: You can also replace your data file to update seating arrangements. However, note that:
Only one data file can be uploaded at a time, and older data will be replaced.
—————————-
- Your Access Link and QR code will be provided to you within 72 hours of your order placement but you may complete the steps above earlier.
- You do not need to share your short-link with guests, we will provide you the QR code which redirects to the Access link instead and contains the above portal.
- Real-Time Updates: All edits are applied in real-time and are immediately visible on your Access Link.
Need Help?
If you need any assistance, reply to our confirmation email or contact us at [email protected].